Wow!!! What a weekend of scrapping. I watched so many awesome videos and saw so much great stuff on social media that my head was spinning with all things scrapbooking. It was so much fun to see what people were creating and the friendship shared around this wonderful craft. Some things that were particularly cool were the challenges on the Hip Kit Club Forum. I was also amazed at how many layouts some people were able to do in such a short time. Here are some photos of some things I worked on and completed:
A mixed media layoutFun with the “I Am” collectionPlaying with soft colors/pastelsA book chat layout
This was such a fun weekend of scrapping. Here are the video links:
A mixed media layout featuring a photo of Bailey on her Europe trip.Here is a close-up of some of the elements on the page.And another close-up of the bottom.
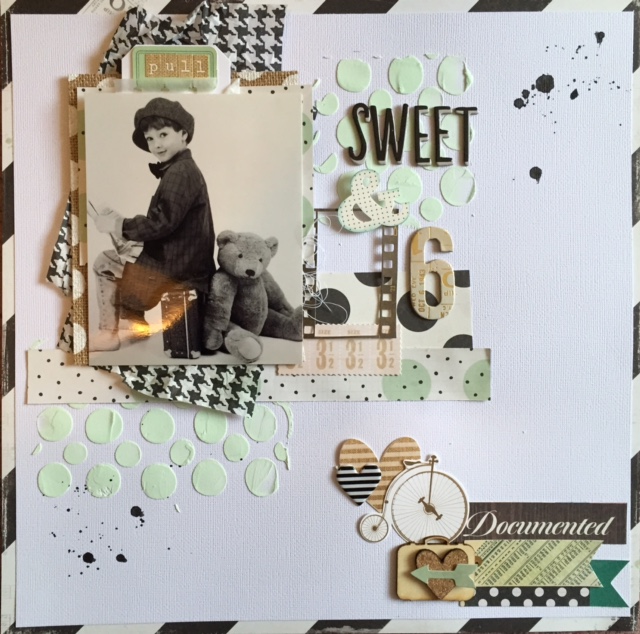
This was an extremely fun layout to create. I really didn’t have a plan when I started, but as I worked with the products from the Hip Kit Club, the layout slowly came together. Something I really love to use is texture paste. I really love to use it on almost all of my 12×12 layouts. I love to add color to the paste, but on this layout I chose to leave it white since there is lots of other color. I did some sewing on this layout too, which is another fun element to add to any layout. If I keep my sewing machine handy and ready to go, I find that I use it a whole lot more often.
Here is a list of products I used on this layout:
Amy Tangerine Rise and Shine Collection (patterned papers, phrase stickers, ephemera die cut, Grace foil phrase Thickers)
Wilna Furstenberg iheart Studio cut files (Silhouette)
Elle’s Studio Happiness clear stamps
Ranger Texture Paste
Maggie Holmes Confetti sequins
Dear Lizzy Serendipity roller stamp
Stampin’ Up! ink
Studio Calico wood veneers
Pink Fresh Up in the Clouds rub-ons
Liquitex clear gesso
My Mind’s Eye Jubilee Wild Berry enamel dots
The Crafter’s Workshop stencil
American Crafts white textured cardstock
Check out the Hip Kit Club website to see all of the kits they offer and the ingredients for each kit : http://hipkitclub.net/
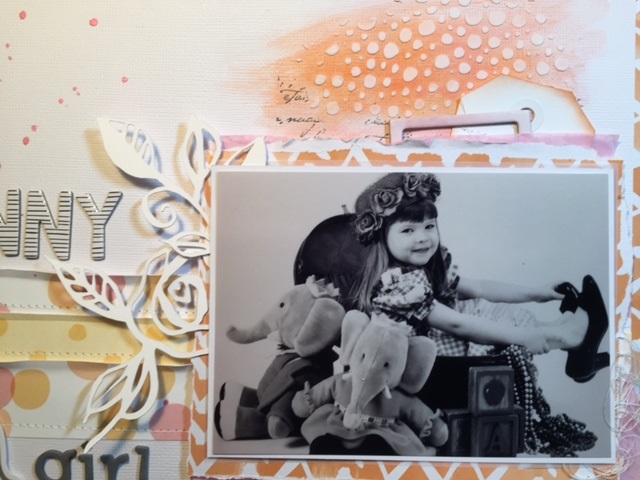
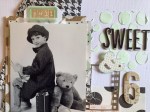
Here is the companion layout that I created to face the “Sweet & 6” layout in an album I am working on. I love the colors in the layout which were inspired by the March and April Hipkit products, especially the Elle’s Studio Cienna Confetti paper and the Amy Tangerine Rise and Shine products. One of my favorite things to do on any layout is to use some mixed media. I love texture paste and mists…anything that adds some pizzazz 🙂 I wanted this layout to be fun…this was such a fun time in all of our lives. The kids were not quite at the age yet where we were running in twenty directions at one time with all of the things they were busy doing. Lots of fun!!
Here is a list of the products I used on this page:
American Crafts white cardstock, Amy Tangerine/American Crafts patterned paper, Amy Tangerine Stitched paper, pink tissue paper, Wilna Furstenberg cut files, Amy Tangerine Rise and Shine Ephemera and epoxy sticker, Amy Tangerine Alyx thickers, Amy Tangerine Rise and Shine word phrases, Ranger Texture Paste, Faber Castel Gelatos (orange and pink), Heidi Swapp journal chipboard frame and pink Color Shine, Stampin’ Up! French Script stamp and Groovy Guava ink, Maggie Holmes sequins, My Mind’s Eye On Trend enamel dots, and American Crafts Darling thickers.
I love to create layouts using photos of the kids when they were little. Every time, it’s a trip down memory lane. I know that they will one day look back at these layouts with their families and reminisce and tell stories…ahhh the wonderful things about scrapping 🙂
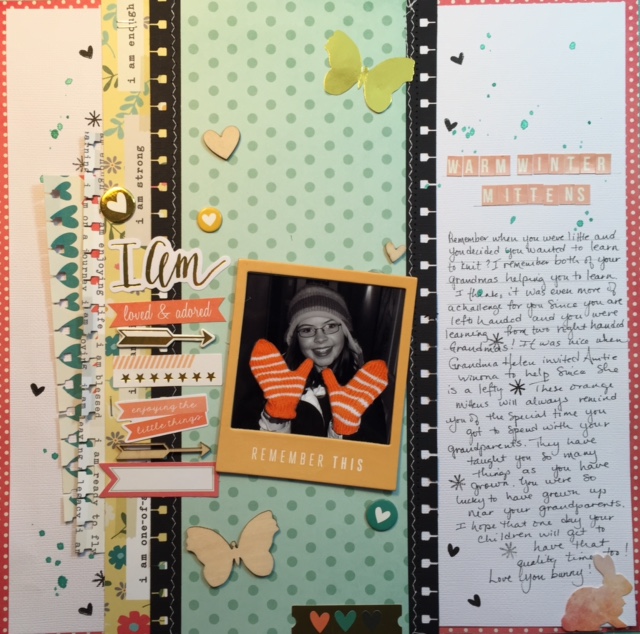
This layout uses some colors and textures that perhaps are more “boy friendly” than the pinks that I use in so many of my girlie layouts. Here is an ingredients list:
American Crafts white cardstock, American Crafts “Celebrate” Thickers, Crate Paper “Craft Market” (ephemera, stickers, paper), Maggie Holmes (“Open Book” ephemera, “Confetti” Blast paper), March and April Hipkit Club items, Speed Ball Ink, Ranger texture paste, Avery Elle pigment ink (“Mint- to- be”), Simple Stories “I Am” wood veneer, Heidi Swapp memory planner sticker, Ranger heat tool
When you pull the “pull” tab, the journaling is revealed!
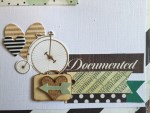
Some simple die cut clusters make the page more complete and interesting!
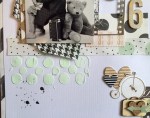
You can see the texture paste adds some cool dimension and texture!
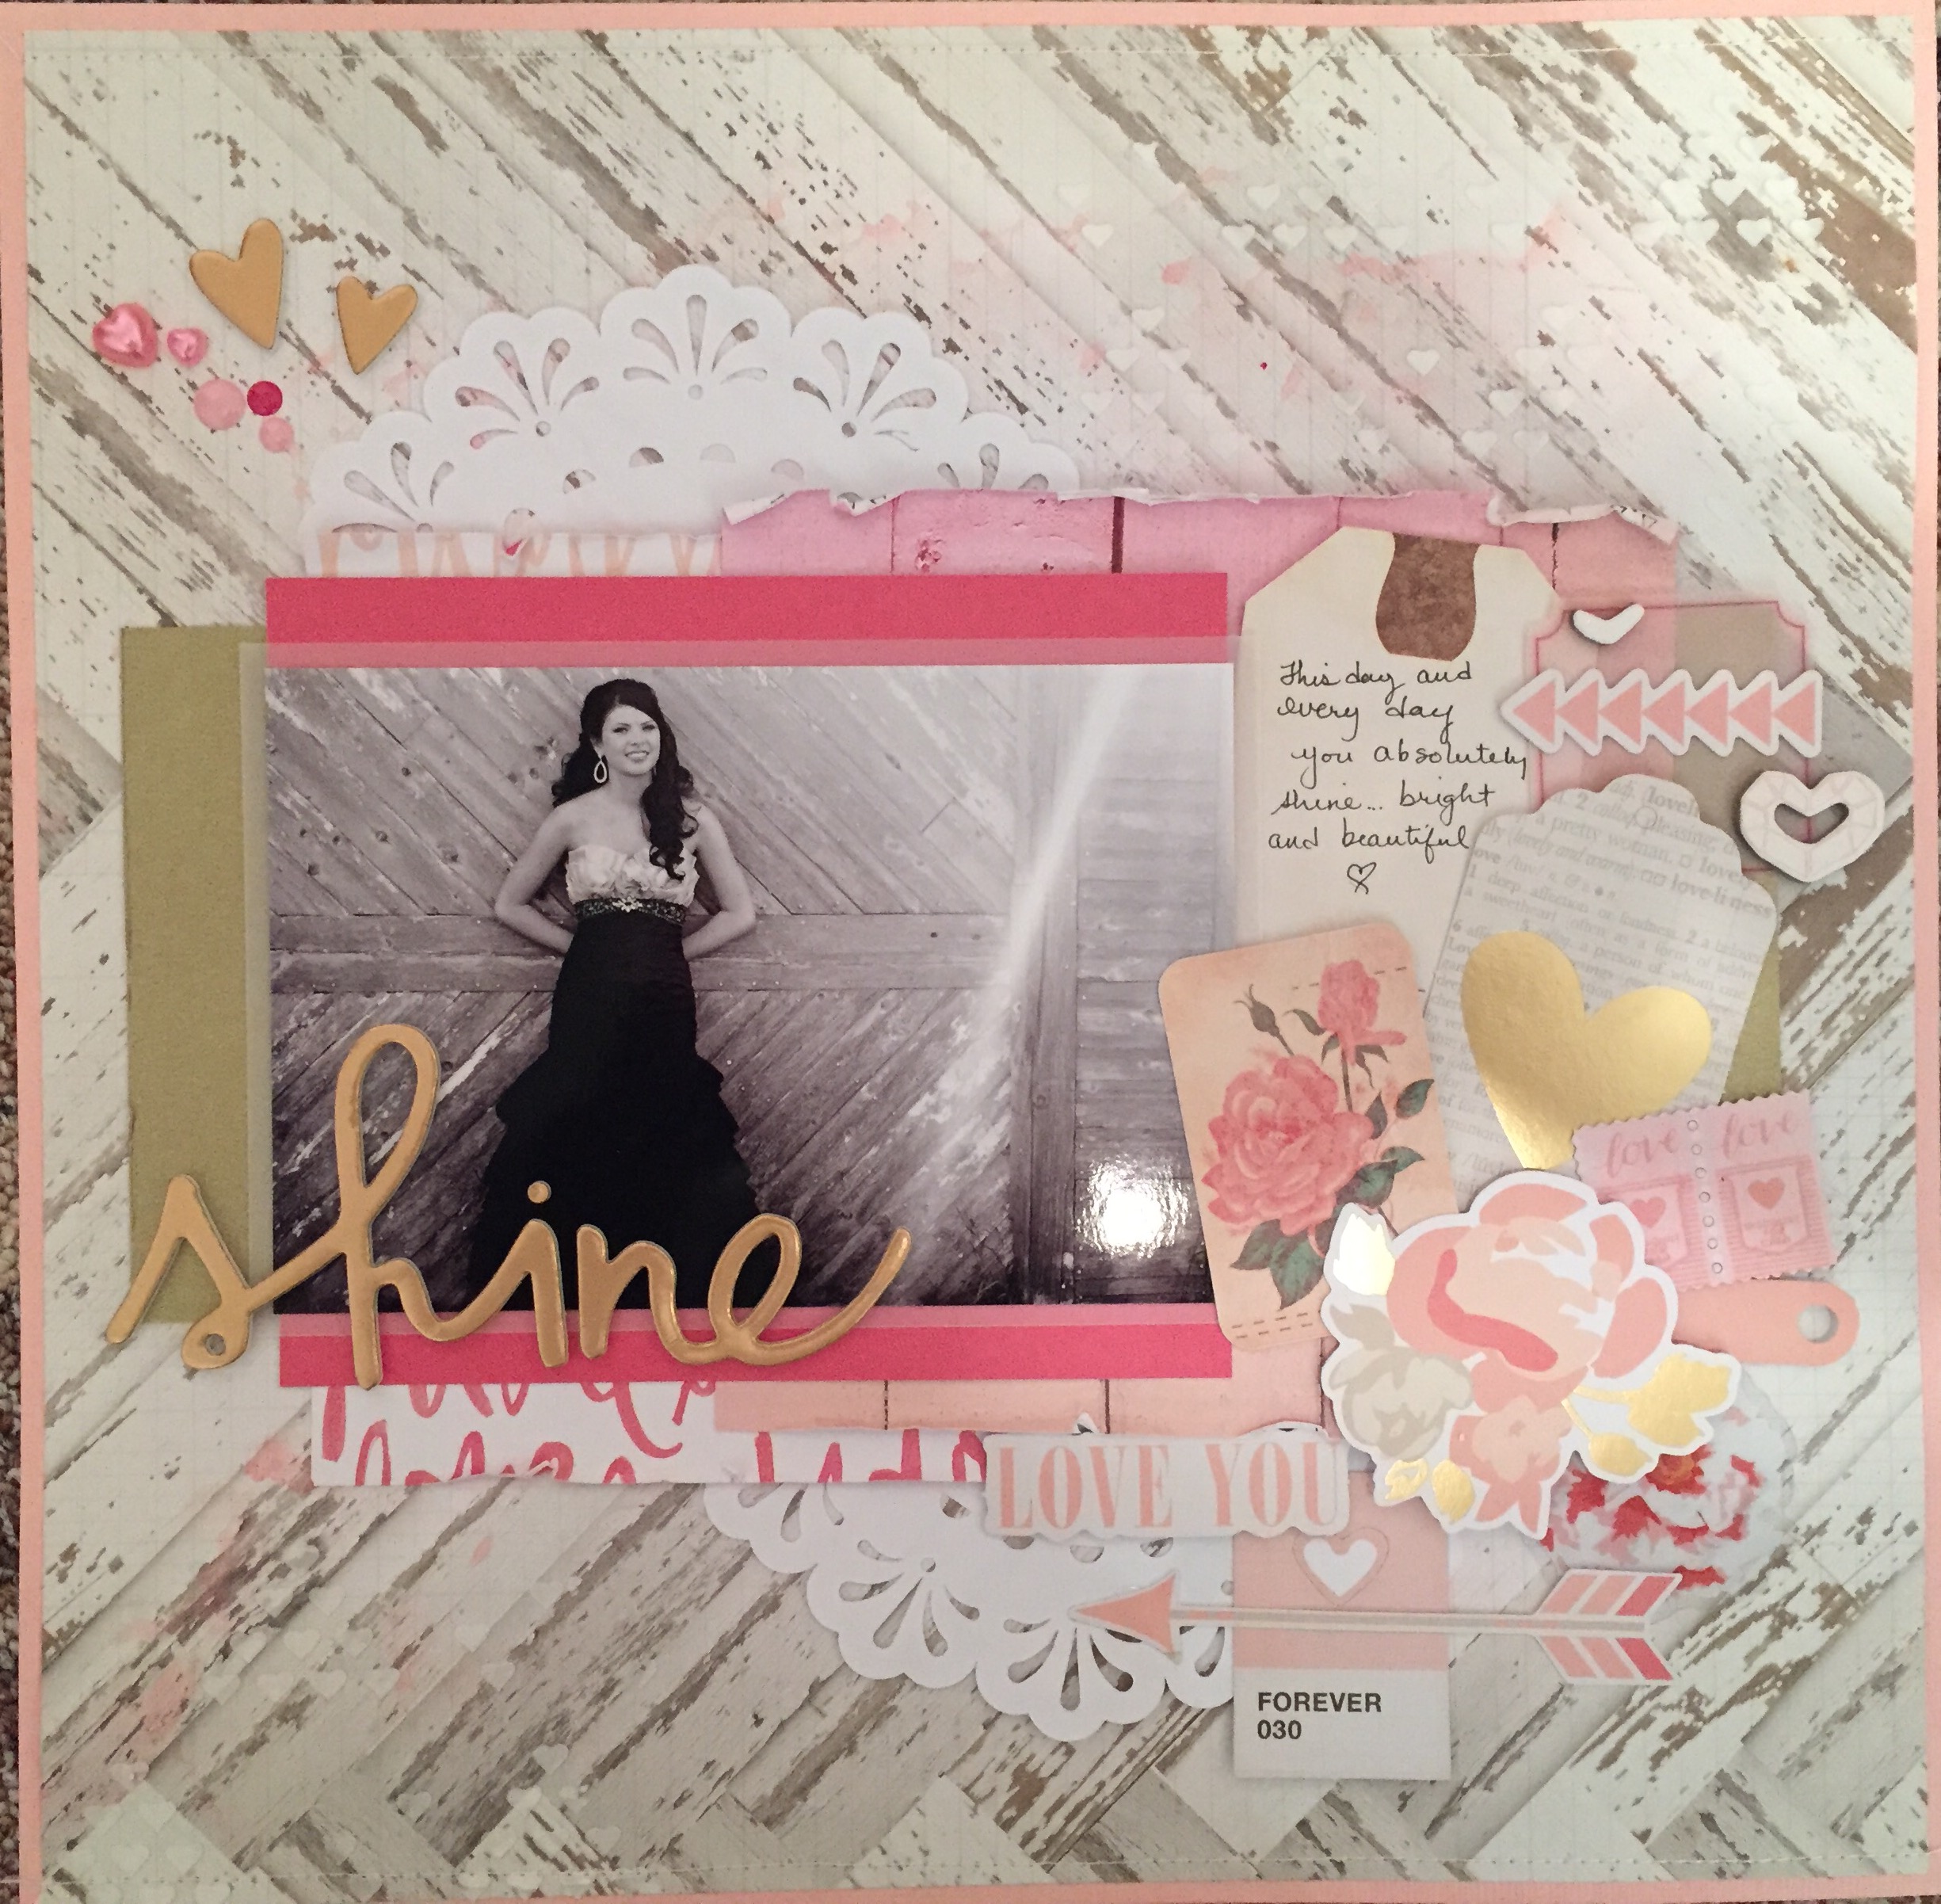
A photo taken about 18 years ago by a professional photographer
Hey Everyone,
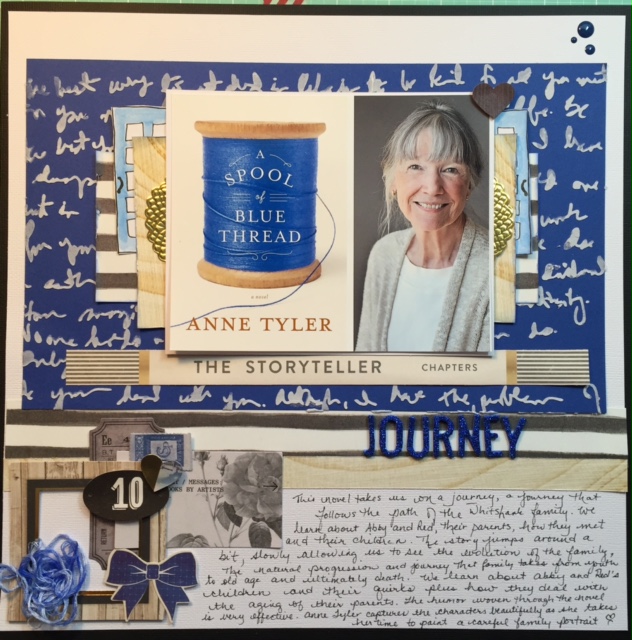
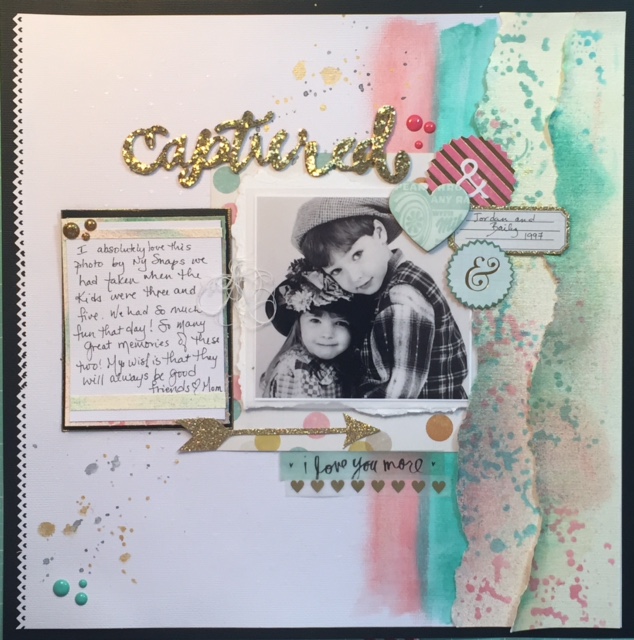
It was so much fun creating this layout. I had prepared the torn border papers on the right previously for another layout, and then used the same paper on this layout. It was created using Distress Ink from Ranger, a stencil, and Heidi Swapp Color Shine. The result is this super shiny, colorful paper for embellishing layouts. I also used a variety of ephemera pieces from Crate Paper Craft Market as well as a piece of 6×6 paper from the same collection. One of the things that was the most fun with this layout was creating the journaling card. I wanted to add some gold to that area, so I used Versamark ink around the border edges of the black cardstock and then put some gold embossing powder on it. I heated it and it created the most beautiful finished border for that journaling area. Then I just added a few embellishments like white thread, enamel dots, mist and voila!
You can see a little more detail on the journaling card.
I had such a great time making this and remembering this fun time with the kids. They got to play dress up and act up for the camera. The result is priceless photos we will have forever.
This hobby is about much more than paper and glue; it’s about documenting life events, our thoughts and ideas that leave a legacy for years to come.
You can see the video of this layout on my YouTube channel. Here is the link: